

For the last 5 years, I've been using Mailgun to send all my transactional emails. Mailgun's API is easy to work with, and their UI has excellent logging that makes it easy to figure out whether an email was actually sent. Here's how you can get started with Mailgun and Node.js.
Your First Email
Once you sign up and get a Mailgun API key, the first thing Mailgun shows you is how to send a test email to yourself from the command line with curl.
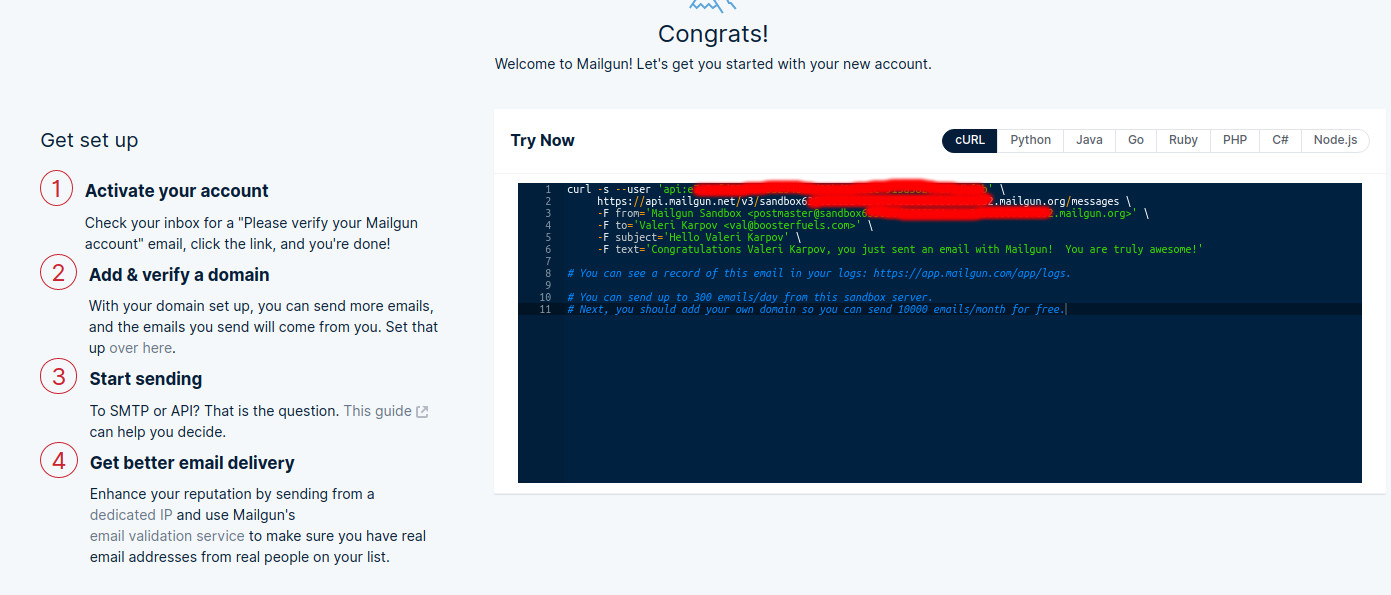
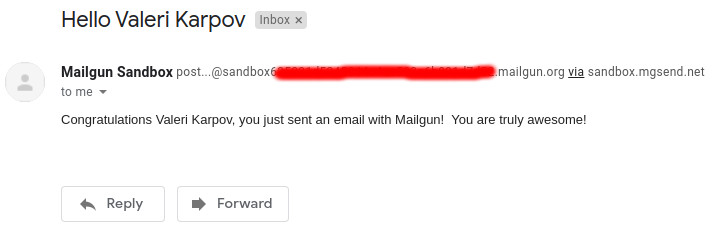
Try running the curl command and you should get a sample email that looks like what you see below. Note that the email is from a Mailgun sandbox domain. Mailgun makes it easy to send emails from one of your domains as well, but the sandbox is sufficient for testing.
Sending emails from Node.js is easy using Mailgun's official mailgun-js npm module. Run npm install mailgun-js and you should be able to run the below script to send a sample
email. Just make sure to set your domain and apiKey to the correct values.
const apiKey = 'your api key here';
const domain = 'your domain here';

const mailgun = require('mailgun-js')({ domain, apiKey });

mailgun.
  messages().
  send({
    from: `test@${domain}`,
      to: 'your email here',
      subject: 'Hello from Mailgun',
      text: 'This is a test'
  }).
  then(res => console.log(res)).
  catch(err => console.err(err));
Templating and Styles
Plain text emails are fine for a simple test, but what about sending pretty HTML emails? There are a few nuances with HTML emails that you should be aware of:
- Styles must be inlined, because not all email clients support style tags. In other words, you can't use CSS classes with emails, you must do
<div style="...">for all your HTML elements. - Images cannot be SVGs, because many email clients don’t support SVG, including Gmail.
- Different clients render emails differently, so you need to test on multiple clients.
In particular, designing emails with inlined CSS styles gets a bit cumbersome. The inline-css npm module is great for converting style tags into inline styles before sending your email.
Below is an example of using inline-css to compile HTML with style tags into something email-friendly.
const inlineCSS = require('inline-css');
const mailgun = require('mailgun-js')({ domain, apiKey });

const template = `
<div>
  <style>
    h1 { color: green; }
  </style>

  <h1>Hello, World</h1>
</div>
`;

run().catch(err => console.log(err));

async function run() {
  const html = await inlineCSS(template, { url: 'fake' });

  await mailgun.messages().send({
    from: `test@${domain}`,
      to: 'your email here',
    subject: 'Hello from Mailgun',
    html,
      text: 'Hello, World'
  });
}
The inline-css module has a couple quirks. First, it is async, because it supports dereferencing remote
styles defined using <link href="...">. Second, it requires a url option, but if you're just using it
to process an inline style tag, you can put a placeholder value.
There are numerous options for templating HTML emails, like Pug or Handlebars. These days I prefer using Vue for email templating.
The vue-server-renderer npm module makes it easy to convert
a Vue app to HTML from Node, with no transpilers required. Below is an example of combining Vue and inline-css
to create an HTML email with templating and inline styles.
const inlineCSS = require('inline-css');
const mailgun = require('mailgun-js')({ domain, apiKey });
const { renderToString } = require('vue-server-renderer').createRenderer();
const Vue = require('vue');

const template = `
<div>
  <style>
    h1 { color: green; }
  </style>

  <h1>{{message}}</h1>
</div>
`;
run().catch(err => console.log(err));

async function run() {
  const app = new Vue({
    data: () => ({ message: 'Hello, World' }),
    template
  });

  let html = await renderToString(app);
  html = await inlineCSS(html, { url: 'fake' });

  await mailgun.messages().send({
    from: `test@${domain}`,
    to: 'your email here',
    subject: 'Hello from Mailgun',
    html,
    text: 'Hello, World'
  });

  console.log('Sent!');
}
Attachments
Mailgun also makes it easy to send attachments. Easy attachments is why I use Mailgun to send confirmation
emails for my eBooks. For example, suppose you want to
send an epub of the classic novel
Moby-Dick as an email attachment. To add an attachment, all you need to do is set the attachment property
to the path to the file you want to attach.
await mailgun.messages().send({
  from: `test@${domain}`,
  to: 'your email here',
  subject: 'Hello from Mailgun',
  html,
  text: 'Hello, World',
  // Adding an attachment is as easy as putting a path to the file
  attachment: './moby-dick.epub'
});
For multiple attachments, you can set the attachment property to be an array of file paths:
await mailgun.messages().send({
  from: `test@${domain}`,
  to: 'your email here',
  subject: 'Hello from Mailgun',
  html,
  text: 'Hello, World',
  // Multiple attachments
  attachment: ['./moby-dick.epub', './mastering-mongoose.pdf']
});
For more sophisticated attachments, you can also send a Node.js buffer
as an attachment. Just make sure you create a new instance of mailgun.Attachment as shown below.
await mailgun.messages().send({
from: `test@${domain}`,
to: 'your email here',
subject: 'Hello from Mailgun',
html,
text: 'Hello, World',
// Custom attachment with raw data stored in a buffer
attachment: new mailgun.Attachment({
data: Buffer.from('Hello, World'),
filename: 'message.txt'
})
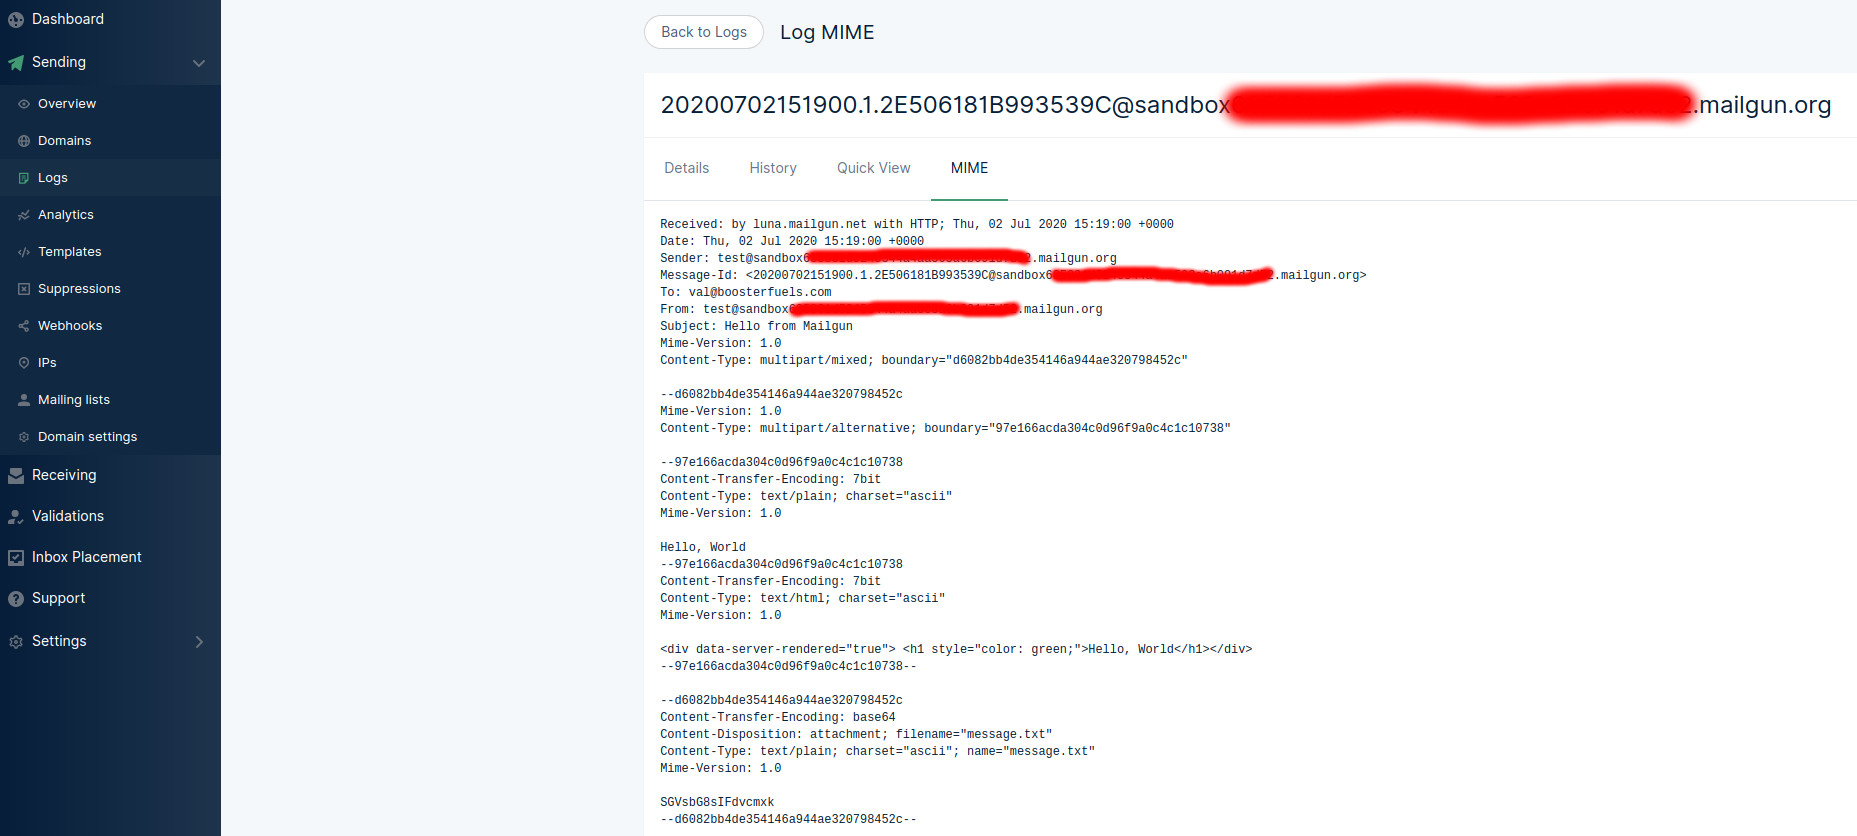
});From the Mailgun dashboard, you can get detailed logs about individual emails. For example, if you find the above email in your Mailgun logs, you can see the raw email that was sent, including the HTML content and the base 64 encoded attachment.
Moving On
I've used numerous tools for sending emails, like Amazon SES and Mailchimp. Mailgun is by far my preferred choice: simple API, great logging, and helpful support. Next time you find yourself needing to build out email infrastructure, check out Mailgun!